Collection Wanted
For Sale MAME Cabs Jukebox Ebay
Locate Any Game Delivery/Shipping Links Comments
27" cabinet kit assembly instructions
READ THIS ENTIRE DOCUMENT THROUGH BEFORE ATTEMPTING ASSEMBLY
STEP 1 - Inventory the cabinet parts.
- Side Panel (qty 2)
- Front Panel
- Wood Coin door (not shown)
- Rear upper panel
- Rear door
- Rear lower panel
- Marquee light-box rear panel
- Cabinet Roof Panel
- Speaker Grille Panel
- Monitor Shelf (qty 2)
- Base/Floor (not shown)

Also included in the kit:
- T-molding (optional)
![icon[1].gif (1649 bytes)](images/icon1.gif)
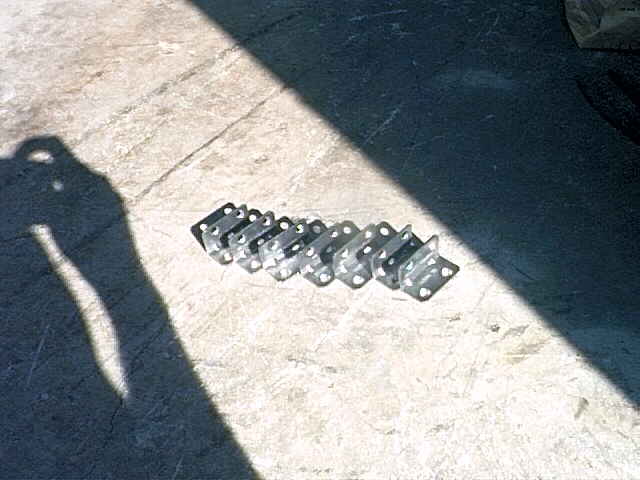
- L brackets (approximately 10)

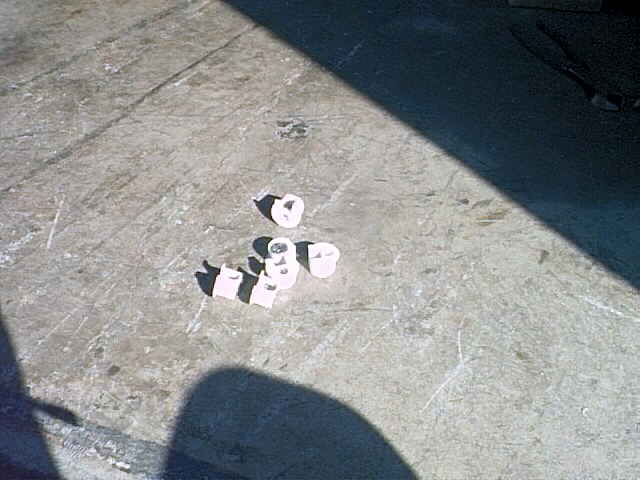
- Twist-lock connectors (approximately 24)

- Twist-lock studs (approximately 24)

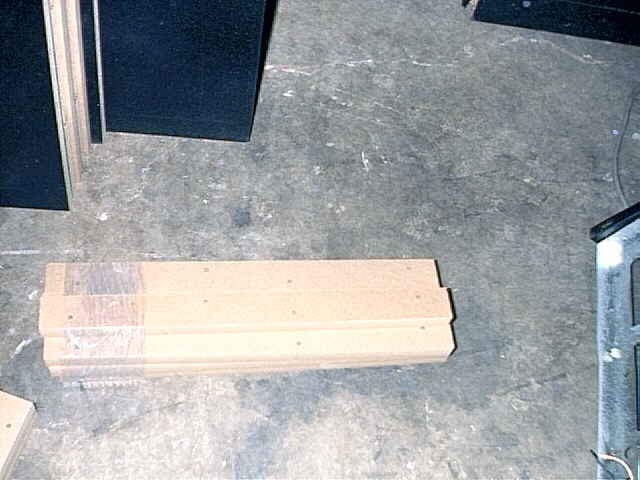
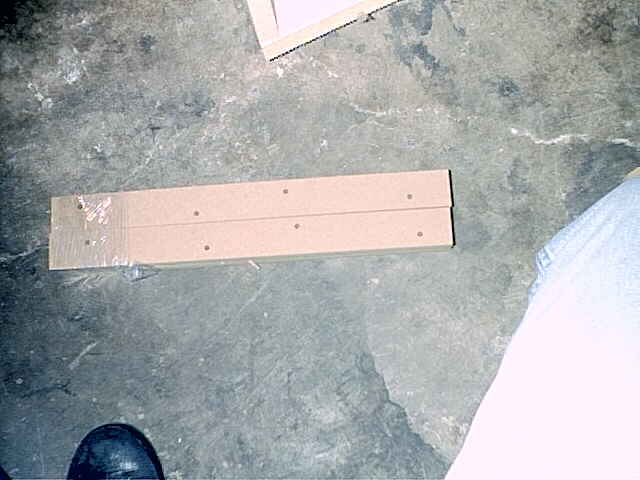
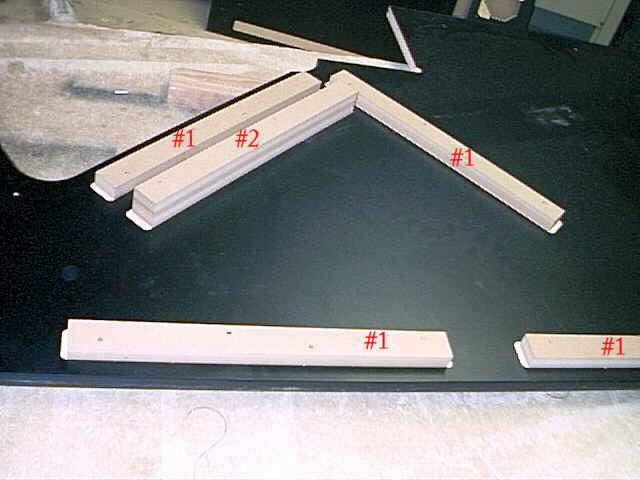
- Support braces #1 16" (qty 10)

- Support braces #2 15" length (qty 2)*

- Support braces #3 25.5" length (qty 2)
<photo soon>
- Support braces #4 20" length (aprox)
- Rear door lower assy brace 23.5" length

- Universal monitor mounting frame
<photo soon>
Tools required:
- Regular sized and very short Phillips head #2 screwdrivers

- Power screwdriver such as Makita or DeWalt or equivalent driver.


- A Hammer or mallet


Additional parts to be provided by customer:
- 1 1/4" #8 Wood Screws
- 5/8" #6 Wood Screws
- Quality Wood Glue
- Additional support brackets
*Note: Early kits do not include #2 braces, they have extra #1 braces.
**Note: there are new monitor braces and a frame to support universal mount
monitors. They replace the rearmost vertical braces.
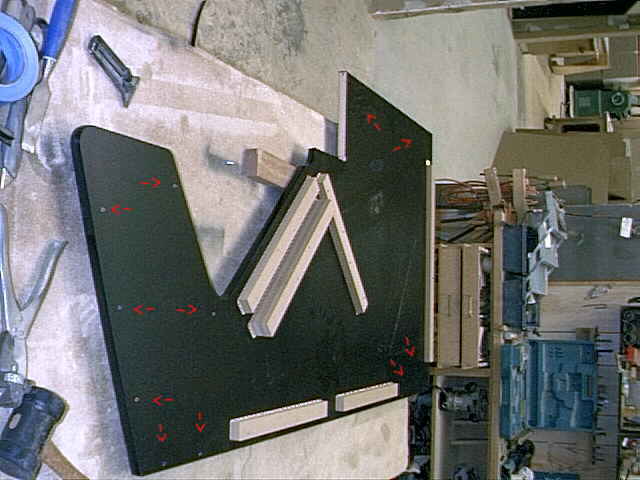
Step 2 - Install support braces in both side panels (A)
- To install braces, apply wood glue to underside, place within the pre-cut
location and attach using power screwdriver with three #8 wood screws through
the holes provided. Ensure that each brace is seated against the side of the
pre-cut location firmly as shown in each photo. The logic here is that the
edge of the wood rests against the edge of the cut for greater strength.
- Attach support braces #1 to rear door locations on side panels (A) as shown.

The rear door braces should be placed against the cut towards the rear of
the cabinet.
- Install monitor shelf braces in the pre-cut location towards the bottom
of of the cabinet.
- There are two options here depending on when your kit was made cabinets
made after 5/03 are universal mount
- 27" horiz mount monitor
- Install monitor vertical #1 braces in the pre-cut locations towards
the TOP and FRONT
of the cabinet, and monitor vertical #2 braces in the double width
location. You will have some adjusting to do here depending on the
width of your monitor chassies.

Unlike the photo shown here you should ensure that there is space
between the braces for the monitor
shelves to slide between the #2 vertical and #1 monitor shelf support
braces.
- If your kit does not include #2 support braces then there should be
4 extra #1 braces which work fine if you locate them at the very top of
the pre-cut location leaving room at the bottom for the monitor shelves
between the monitor shelf support brackets and the vertical monitor braces
- The monitor shelf support braces and rear vertical monitor support braces
are doubled

the second brace should be rotated 180 degrees so that the screws are
offset from the lower support
brace screws. Ensure you use wood glue between the doubled braces..
Since the braces are 3/4" wide and the cabinet is 27" wide inside
that leaves you about 24" clearence between the doubled braces..
- If your monitor is more than just under 24" wide then you will
need to manually adjust the 2nd set of #2 vertical braces or use thinner
wood. What I do is mount the braces with glue, screw them down. Wait for
the glue to dry for a couple days, then I measure to fit the monitor between
them. If I need to remove some of the braces I split them down to size
with a chisel and hammer and then file and sand them smooth. You
could also just use thinner wood and make your own 2nd set of braces.
- 27" universal mount monitor
- Install monitor horizontal #1 braces in the precut locations under
the vertical brace locations. Ensure that these braces are centered
and braced against the edge closest to the BOTTOM of the cabinet. Install
another set of braces (rotated 180 degress to offset the screw holes)
on top of the first set. Effectively doubling the braces.

- Install monitor vertical #3 braces in the precut locations torwards
the TOP and REAR of the cabinet. These go in the rear vertical slots.
Leave room at the bottom for the 2 monitor shelf panels to slide between
these braces and the shelf braces below.

- Install support braces #3 to lower location on side panels (A) as shown

Ensure they are centered and placed against the top of the cut and away from
the bottom of the side panel.as pictured.
- Install support brace #1 to back panel F (with wood glue and #8 wood screws
as shown

- Install rear door lower assy brace on the bottom of the door

- Allow glue to dry and then proceed.
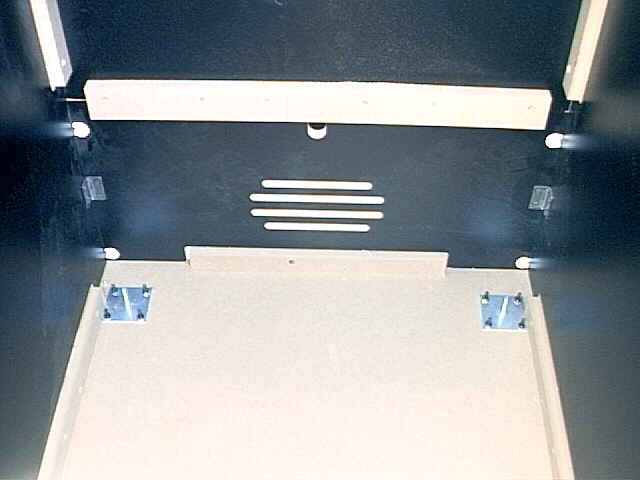
Step 3 - Install Twist-lock connectors and main panels:
- Install twist-lock connectors into holes on cabinet panels B, D, F, H, I as shown here

ensure that the opening in each connector is lined up with the side of the panel.
- Install twist-lock studs in both side panels (A) using #2 phillips screwdriver.

The locations are easily identified as they are pre-drilled.
You can use a power screwdriver but be careful not to over-tighten as they are likely to
strip if too much torque is applied.
- Seat and attach panels B, D, F, H, I to side panel and lock with twistlocks.

- When assembling you insert a screwdriver into the twist lock and twist clockwise until
tight to secure connector

- After attaching the lower panels install the other side panel (A) to the other side of
the panels and lock twist-lock connectors.
Step 4 - Install base and monitor shelf
- Install base (K) with power screwdriver and #8 wood screws, ensure that
screws are installed through the base and into side-support braces. You may
also want to put glue between the base and the support braces before installing.

- Install first monitor shelf to side-brackets using power screwdriver and
#8 wood screws. The two monitor shelves should line up with the front edge
of the rear vertical support bracket. Making a flush/flat surface for the
frame to sit on.
** Ensure that the wood screws are installed through the shelf and into the
side-support braces.
- Install second shelf on top of first shelf and using power screwdriver attach
with #8 wood screws through the shelf into the lower shelf.


- Install universal mount frame in front of the shelves. The frame should
be flat against the vertical brackets, and the front of both shelves. Resting
on the horiz brackets.


Step 5 - Install metal L brackets
- L brackets are to be installed on each panel between all twist-lock connectors and on
_all_ interior corners. Use 5/8" #6 Wood Screws to secure the brackets to the
cabinet.

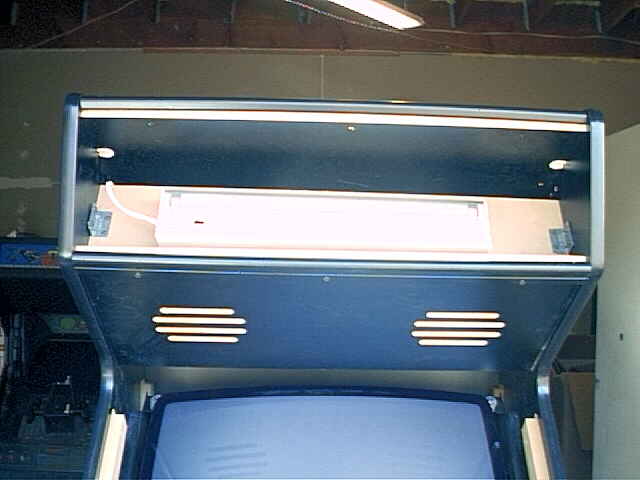
- Install marquee light board with L brackets above the front twist locks.

- Additional braces are available for purchase if you require more than what is included
with the kit.
This document is a DRAFT and is not the final release. It may contain errors or
omissions.
Gregory McGill and arcadeshopper.com take no responsibility for mistakes made by
customers during the assembly process. I am not responsible for any errors or omissions in
this document. If you find an error please EMAIL ME and I will
correct it on the web page.
USE YOUR HEAD and some common sense when assembling your cabinet and you will do fine.
It is very straight forward.
If you need replacement parts or find parts are missing in your kit EMAIL ME and I'll make sure you get what you need.
Replacement parts are available at additional cost as are additional brackets or
twist-lock connectors.
Replacement parts for parts damaged in shipment are covered by shipping insurance and
must be claimed with the shipping company for re-embursement of damages. I am not
responsible for any damage that occurs during shipping.